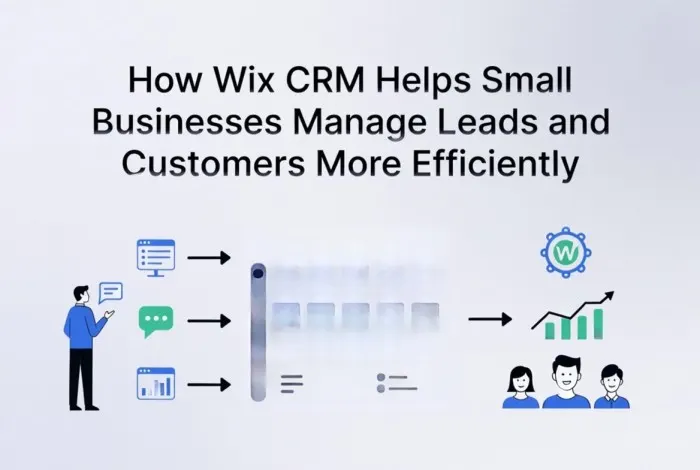
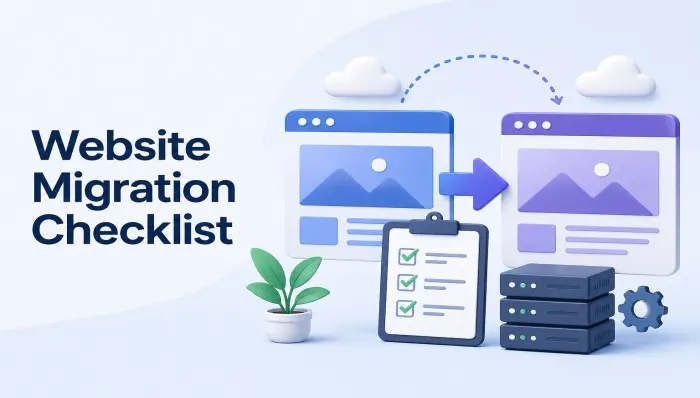
Website Migration Checklist: Everything You Need Before Switching Hosting Providers

Switching your website to a new hosting provider can feel overwhelming, but with the right preparation, it can be smooth and stress-free. Whether you’re upgrading for better performance, security, or cost savings, having a solid checklist ensures nothing important gets missed. Many hosting providers like Hostinger even offer migration support, but understanding the process yourself is always a smart move.
Here’s a complete website migration checklist to guide you before making the switch.
1. Backup Your Entire Website
Before doing anything, create a full backup of your website. This includes:
- Website files (HTML, CSS, images, scripts)
- Databases (MySQL or others)
- Emails and configurations
A backup acts as your safety net in case anything goes wrong during migration.
2. Choose the Right Hosting Provider
Not all hosting providers are the same. Evaluate based on:
- Speed and performance
- Uptime guarantee
- Customer support
- Pricing and scalability
Providers like Hostinger are popular for offering affordable plans and free migration services, making the process easier for beginners.
3. Check Compatibility Requirements
Ensure your new host supports your website’s:
- Programming language (PHP, Python, etc.)
- CMS (WordPress, Joomla, etc.)
- Database type
- Server configurations
Ignoring compatibility can lead to errors or broken functionality after migration.
4. Lower Your DNS TTL (Time to Live)
A few days before migration, reduce your DNS TTL settings. This helps your domain update faster when you switch servers, minimizing downtime.
5. Migrate Website Files and Database
Now it’s time to move your data:
- Upload files to the new server via FTP or file manager
- Import your database using tools like phpMyAdmin
- Update configuration files (like wp-config.php for WordPress)
Some hosts offer automated tools to simplify this step.
6. Test Your Website on the New Server
Before making the site live:
- Use a temporary URL or staging environment
- Check pages, links, and forms
- Test loading speed and responsiveness
This step ensures everything works perfectly before users see the new version.
7. Update Domain DNS Settings
Once testing is complete:
- Point your domain to the new host’s nameservers
- Wait for DNS propagation (usually a few hours to 48 hours)
During this time, some users may still see the old version, which is normal.
8. Monitor Website Performance
After migration:
- Check for broken links or missing files
- Monitor uptime and speed
- Use tools like Google Analytics to track traffic changes
A sudden drop in performance may indicate migration issues.
9. Reconfigure Email Accounts
If your email was connected to your old host:
- Recreate email accounts on the new server
- Update email client settings
- Ensure emails are sending and receiving correctly
10. Cancel Old Hosting Plan (After Confirmation)
Do not cancel your old hosting immediately. Wait until:
- Your website is fully functional on the new host
- DNS propagation is complete
- No data is missing
Only then should you safely close your old account.
Final Thoughts
Website migration doesn’t have to be complicated if you follow a structured checklist. Planning ahead, testing thoroughly, and choosing a reliable hosting provider like Hostinger can make the entire process seamless.
With the right approach, you can upgrade your hosting without downtime, data loss, or stress—ensuring your website continues to perform at its best.